With the last days of winter still lingering, yet the soft whispers of spring beckoning, here are some tips to inspire you and ease your eager green fingers into the new growing season. Hopefully, you’ll also find ways to spread some plant love and motivation among your gardening buddies.
Share the Gardening Excitement
Being part of a community of plant enthusiasts is such a delight! There’s a unique thrill when a gardening friend shares a photo of a seed packet, a new plant, or a ripe fruit. Or when we sit down together, discussing cultivation plans, soil types, watering strategies, and recipe ideas. I challenge you to spread some gardening inspiration to a friend. It could be a picture, a message, some seeds, or even a small plant. Better yet, spend some quality time together – sowing seeds, repotting plants, visiting a nearby park, or even a trip to a garden center. Feel free to share your experiences in the comments. Remember, gardening together makes the experience even more rewarding!
Multiply Your Houseplants
A few weeks ago, my mother was repotting her indoor plants – some were divided into smaller pots while others graduated to larger ones. If you’re like us, you might not have room for lots of new pots. Why not make use of these surplus plants by gifting them to someone you care about? It’s an excellent way to say “I appreciate you” or “Sorry, I ran out of window space, can you squeeze this plant into yours?” I find that taking care of plants gifted by loved ones brings an added layer of joy to my plant care routine. So, why not share the love?
Embrace the Signs of Spring
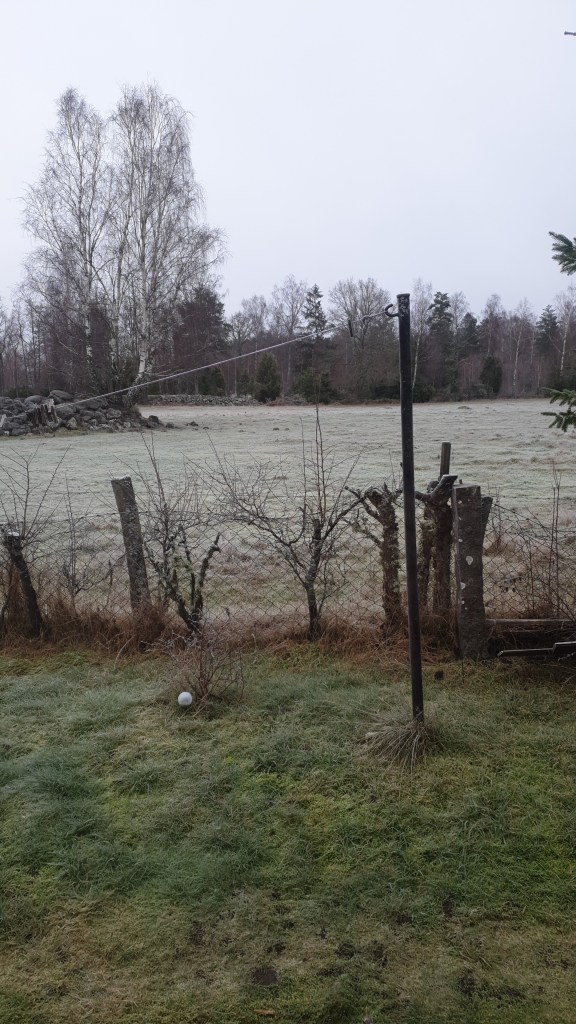
Spring is almost here, at least in southern Sweden. It’s easy to get caught up in the flurry of sowing and planting without pausing to appreciate the transformation happening around us. As nature rouses from its long winter slumber, it’s genuinely enchanting to witness the rebirth of life around us. Try to slow down and observe the small miracles of spring – the sprouting leaves, the swelling buds, the returning birds, and the awakening insects. Let’s not just be sun seekers, but also ground observers. Take time to notice and revel in the signs of spring unfolding around you.
Let’s welcome the new season with open hearts and excited green thumbs. Here’s to a fantastic growing season filled with joy, sharing, and the wonder of nature’s renewal.
Spring Gardening Tips: Kickstart Your Growing Season and Spread Plant Joy
With the last days of winter still lingering, yet the soft whispers of spring beckoning, here are some tips to inspire you and ease your eager green fingers into the new growing season. Hopefully, you’ll also find ways to spread some plant love and motivation among your gardening buddies.
Share the Gardening Excitement
Being part of a community of plant enthusiasts is such a delight! There’s a unique thrill when a gardening friend shares a photo of a seed packet, a new plant, or a ripe fruit. Or when we sit down together, discussing cultivation plans, soil types, watering strategies, and recipe ideas. I challenge you to spread some gardening inspiration to a friend. It could be a picture, a message, some seeds, or even a small plant. Better yet, spend some quality time together – sowing seeds, repotting plants, visiting a nearby park, or even a trip to a garden center. Feel free to share your experiences in the comments. Remember, gardening together makes the experience even more rewarding!
Multiply Your Houseplants
A few weeks ago, my mother was repotting her indoor plants – some were divided into smaller pots while others graduated to larger ones. If you’re like us, you might not have room for lots of new pots. Why not make use of these surplus plants by gifting them to someone you care about? It’s an excellent way to say “I appreciate you” or “Sorry, I ran out of window space, can you squeeze this plant into yours?” I find that taking care of plants gifted by loved ones brings an added layer of joy to my plant care routine. So, why not share the love?
Embrace the Signs of Spring
Spring is almost here, at least in southern Sweden. It’s easy to get caught up in the flurry of sowing and planting without pausing to appreciate the transformation happening around us. As nature rouses from its long winter slumber, it’s genuinely enchanting to witness the rebirth of life around us. Try to slow down and observe the small miracles of spring – the sprouting leaves, the swelling buds, the returning birds, and the awakening insects. Let’s not just be sun seekers, but also ground observers. Take time to notice and revel in the signs of spring unfolding around you.
Let’s welcome the new season with open hearts and excited green thumbs. Here’s to a fantastic growing season filled with joy, sharing, and the wonder of nature’s renewal.